FormStamp Properties
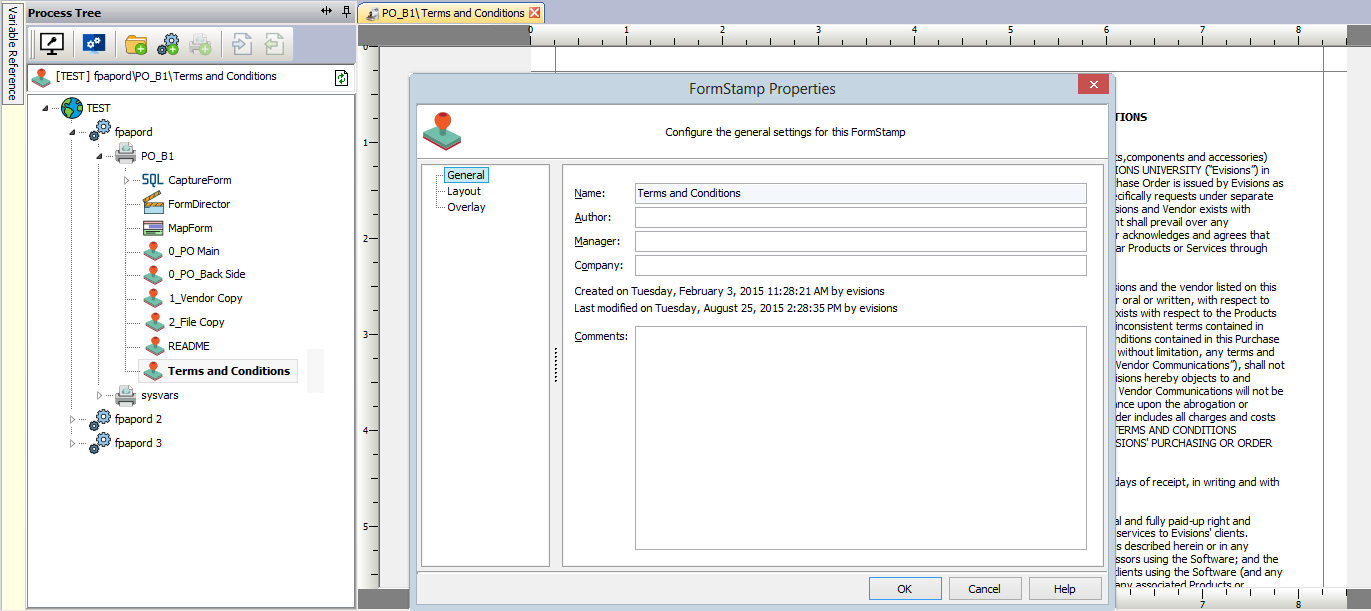
To edit the FormStamp's properties, first open the FormStamp that you wish to edit. On the Edit menu, click Properties. You can also right-click on the name of the FormStamp in the Process Tree and select Properties.
There are three screens in the FormStamp Properties dialog: General, Layout, and Overlay.
General

Selecting General allows you to edit the form name, author name, manager name, company name and any comments about the form.
These fields are for internal management and are not used by FormFusion in any way.
Layout

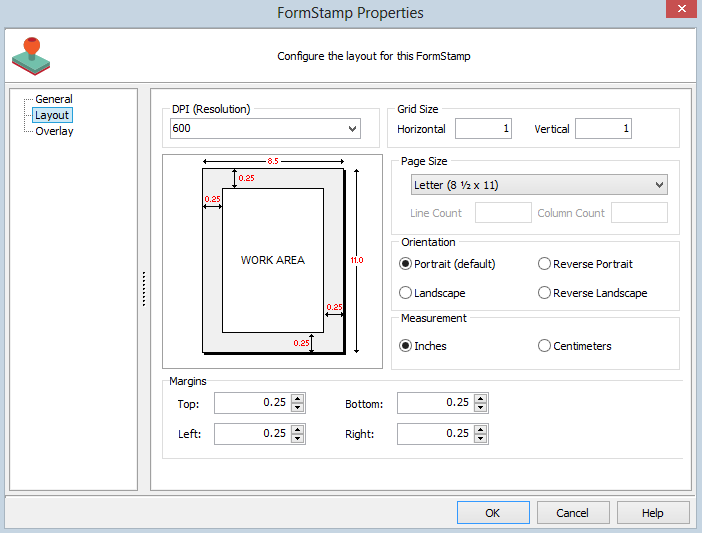
DPI (Resolution)
The resolution of the form is in DPI (dots per inch). This controls the
sharpness of the printed page. To change the form resolution select the
desired resolution from the existing settings. The higher the number, the
better the resolution. However, setting this option higher requires more
memory for graphics and text boxes. Most printers look fine at 300 dpi and
600 dpi.
Grid Size
The grid size is used when viewing with the grid on or snapping to grid.
These lines are an aid for drawing fields, boxes, lines, etc. The grid is not
used by the server software, only the client. There are two settings which
control the grid lines: Horizontal and Vertical. To set the
width of the grid, enter it in the Horizontal edit field. To set the
height of the grid, enter it in the Vertical edit field.
Page Size
This option controls what type of paper the form should be printed on. There
are several standard page sizes to choose from. Simply choose the one that
corresponds to the page size you desire. The width and height of each page
size is listed next to the name. These measurements will be displayed in the
current measurement mode (inches or centimeters).
Orientation
This controls the physical direction the form should display on the printed
page. There are four choices: Portrait (default), Landscape,
Reverse Portrait, and Reverse Landscape. Simply check the button
that corresponds to the orientation you desire for the page. Most common
choices are portrait and landscape.
Measurement
This option controls the measurements of the page size, grid size, and all
placement of objects on the form. You can either view measurement in "inches"
or "centimeters".
Margins
Set the Top, Bottom, Left and Right margins for the page.
Overlay

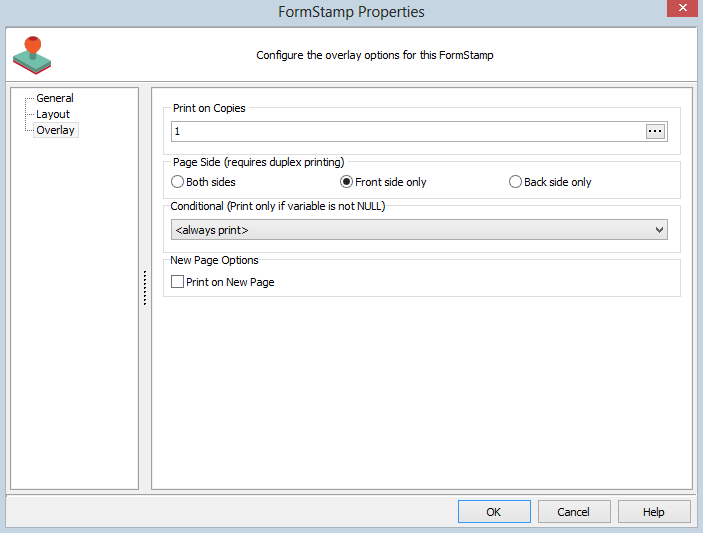
Print on Copies
In this edit field you can enter the copy (or copies) the form will be printed
on. For example, if you want a form to print on copies 1 and 3, enter "1, 3"
(no quotes). To print on copies 2, 3 and 4, enter "2-4". When a copy number
is not specified, the form will print on all copies. If a form is being
modified or is not currently needed and should not be printed on any form, you
can specify copy 0. This will cause it to never print.
Page Side
You must also specify which side of the page the form will print on. There
are three radio buttons for doing this: "Both" (default), "Front", "Back".
Simply choose the side you want the form to print on.
Conditional (Print only if variable evaluates to [not null])
To set this form to print conditionally based on the evaluation of a variable, select the variable from the drop down list. You will also need to create a CaptureForm query to evaluate some condition that will set the variable to [Not Null] for the form to print. By default a variable is set to null. Setting the variable to any value causes the variable to be [not null].
Print on New Page
Any FormStamp with this option checked will force FormFusion to insert a new page into the output, while remaining on the current page of the input (.lis) file. This means that you can now have any number of pages of additional output for each record in your input file, and are no longer limited to just the front and back sides of a single sheet.
In the example in the first screenshot above, notice how the Terms and Conditions FormStamp comes after the rest of the FormStamps. This is necessary because the Print on New Page option forces a page break when FormFusion processes it, and FormFusion processes the list of FormStamps in order from top to bottom. You can change the order of the FormStamps by renaming them, since they are always listed in alphabetical order.
You can combine the Print on New Page option with other processing options such as:
- Printing the new page only on specific copies
- Conditionally printing the new page based on the value of a SQL variable.
- You only print the Terms and Conditions page for select vendors who require it.
- You only print the Terms and Conditions page if the dollar amount exceeds some threshold.
- You only print the Terms and Conditions page following the last page of a multi-page record in the input file, using an "end of record" marker on the last page as the condition.
Note: Print on New Page is not supported in combination with the Paper Save option in the Print Parameter Properties, since Paper Save by definition ignores pagination instructions.
In this example, using the FormStamp properties from the previous screenshot, a two-page input file yields a PDF with the front and back of the first page, followed by the inserted Terms and Conditions page, for each record.

For printed output, the Terms and Conditions page would be blank on the back side, and the next record would start on a new page.
Printing on the Back Side of the New Page
To configure a FormStamp to print on the back side of the new page, you must do two things.
- Name the FormStamp so that it follows the FormStamp for the front side of the new page that has the Print on New Page option checked (alphabetically in the Process Tree).
- Set the FormStamp to print on the back side only.
Do not check the Print on New Page option for this FormStamp. You do not want to force a second page break, only to print on the back side of the current page. When the job runs, FormFusion will process all of the FormStamps in order from top to bottom, inserting the page break before the front side of the new page and then continuing on to the back side of that page.